Sunday, April 9, 2017

My preparation for the Japan (Solo) Trip

my preparation for Japan solo trip | www.bigdreamerblog.com
Konnichiwa, dreamers! As I promised (on the instagram), I'm gonna share my preparation for the Japan solo trip. I'm so excited because I CAN FINALLY write about Japan in my blog (which is my ultimate blog goal) and share my experience, tips, great places and food, etc for you guys :))

1. Book the Flight
Yes, obviously a plane ticket. I used Japan Airlines (JAL) for going to Japan, and it's not a promo ticket but the price was okay (IDR 5,7 million). It was actually not really expensive especially for the sakura season. When I paid for the ticket, I felt like crying- not because of the price but it's like...I AM F*CK*NG GOING TO JAPAN!!! I'm thinking about Japan for more than half of my life (lol) and I finally could go there with my own earned money. I suggest you to buy the ticket long before the departure date, it's usually cheaper. You can also try to promo-ticket-hunting at travel fairs, but note that you can never get promo ticket for high season :))

2. Saving Money
One of the reason decided to just buy the plane ticket was for saving money with no choice hahaha. I'm pretty impulsive in buying things so I need a strong reason not to do it :)) I also opened another bank account for the saving. It was quite crazy because I saved more than half of my paycheck + writing fees there, so maybe my friends were tired of hearing my broke-as-hell complain every month ;p

3. Passport and Visa
You can't enter Japan without passport and visa, can you? So, this is another important preparation I made. I actually already had a passport, so I just need to apply for the visa. But when I read the requirements about certain amount on my bank balance, I wasn't sure I could get the visa. That's why I decided to make a new passport, e-passport to be exact. In Indonesia, we can get free visa called waiver visa to Japan as long as we have the e-passport. It costs me around IDR 600.000 to get a new e-passport. After I got my e-passport, I used Dwidaya Tour to help me get the waiver visa (because I'm working on the weekdays) and it costs me IDR 50.000.

4. Itinerary + research
For me, made an itinerary for 14 days was quite a task, hahaha. I did have some places in mind, but dividing them was confusing. In the end I made it, but don't expect a detail one because I'm not a neat and organized person (lol). I will share it to you in my next posts, please be patient and stay tuned :D Note that don't forget to do some research about the place you're going to- the route, time to reach there, transportation, what's special about that place, fee, etc.

5. Book the accomodation
my preparation for Japan solo trip book room | www.bigdreamerblog.com
I tried Airbnb at first but changed it to booking.com. It's not that Airbnb not good, but I found it more convenient with booking.com. I booked a room from airbnb but I couldn't know directly if the room was vacant or not, I need to make a request and it's rejected because it turned out the room was already booked. Instead, at booking.com I could see either a room was vacant or not, and the plus point is the free cancellation. Will write the details about my accomodation in another post ;)

6. JR Pass, Disney Sea and Disneyland 2 day pass, etc.
my preparation for Japan solo trip disneysea | www.bigdreamerblog.com
I decided to buy JR Pass for my trip because I would travel from Tokyo-Osaka and Kyoto-Tokyo and it'd worth the price. I bought the 7 day pass although my trip was 14 days because after first week I wouldn't go to another city anymore, so 7 day pass was the best choice. Will tell you more about this one in another post (again, hahaha). I bought JR Pass at a travel fair with a promo price, around IDR 3.15 million. Next, I purchase theme park tickets (Disney Resort 2 day pass, One Piece Tower), Osaka Amazing Pass at klook.com.

7. Wi-Fi router or XL Pass
I was confused to choose wi-fi router or XL Pass. Wi-fi router was quite expensive for 14 days and I was alone so it's kinda a waste. The problem was, I really need the internet connection for maps etc. So my friend offered another option called XL pass; XL is Indonesian network and they offer XL pass to Indonesian traveler, luckily Japan is one of the country that's applied for this pass (softbank). It's half of the price of wi-fi router rental (XL pass: IDR 350.000 + data 16 GB: IDR 90.000 for 30days), but tbh I was kinda doubt the connection quality. In the end I decided to just go for it, turned out the connection was not bad at all. I recommend you to use XL pass when you're traveling abroad, especially when you're alone. If you're going in a group, wi-fi router can be the option because it can be used by 4-5 devices.

8. Clothes
my preparation for Japan solo trip pack clothes | www.bigdreamerblog.com
Please check the weather before pack your clothes T.T I brought light clothes because I thought the weather would be 13++ degrees as usual but it was STILL SUPER COLD! Imagine how I survived with those clothes that can be wear in Indonesia's mall weather, lol. It's the first time I felt like crying (literally) because of cold.

9. Everything I need for my trip
Camera, extra memory, tripod (because I'm alone but still want to take a nice pics, lol), power bank (it's a must especially when you depend on the maps), wire-plugs (because the plugs in Japan is different from Indonesia).
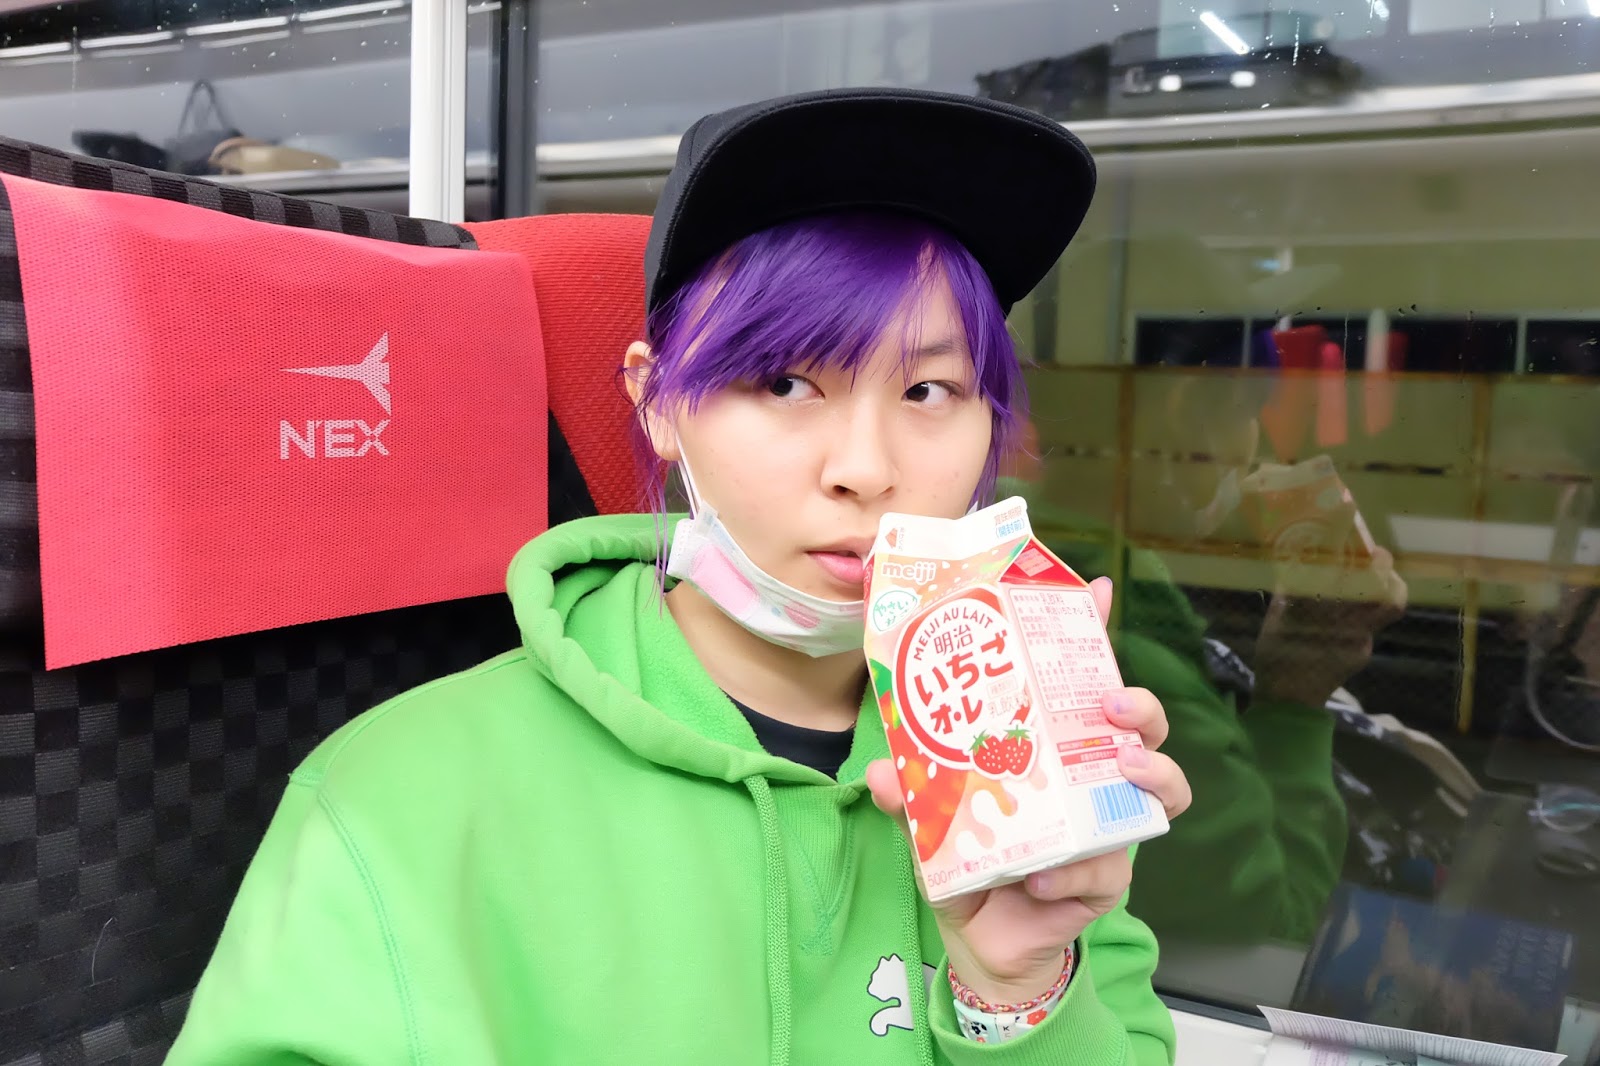
my preparation for Japan solo trip jr pass | www.bigdreamerblog.com
Okayyy, I think that's all! Hope this post can help you planning your trip to Japan :D Will share some tips in another post, hopefully soon, so stay tuned! Jaa ne~

Like us

Related Posts Plugin for WordPress, Blogger...